Crafty Fun: Let’s Fold a Paper Box!
 Krystal Winn
Looking for a fun and simple craft to add to your homeschool routine?
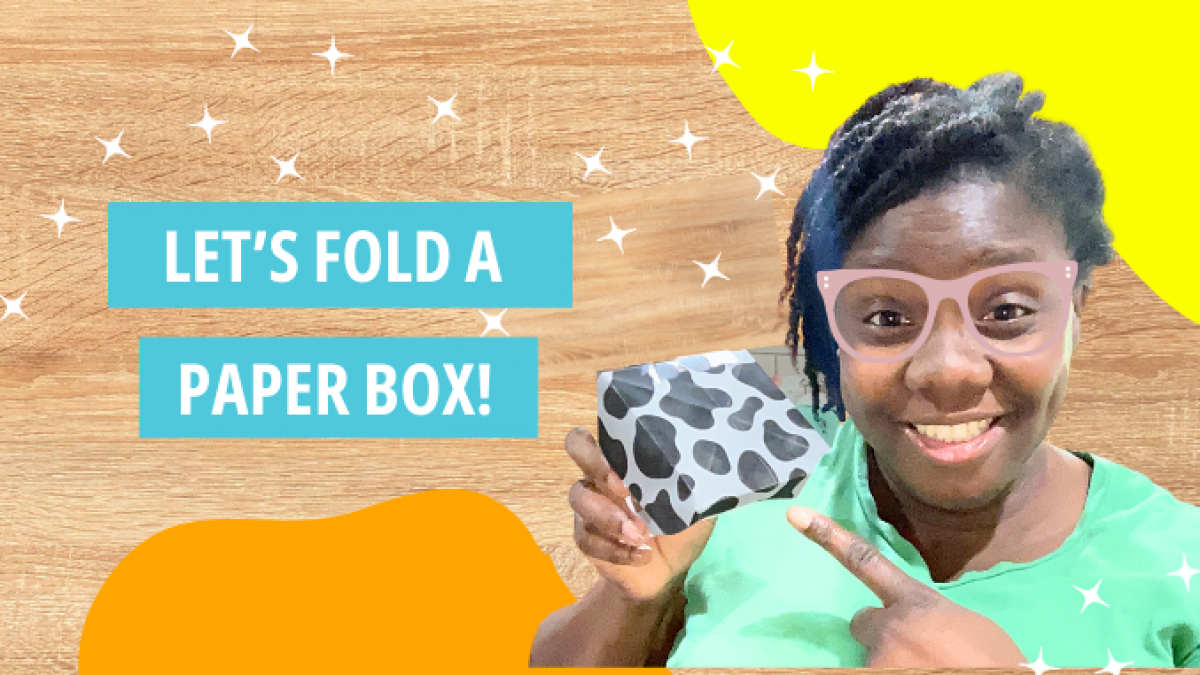
Crafty Fun: How to Fold a Paper Box with a Lid!
From popsicle sticks and paper towel rolls to glitter and glue, adding simple craft projects to your homeschool routine is a fun way to learn together as a family. Keep reading for step-by-step instructions on how to craft a paper box with a removable lid.

Ready to embark on some paper-folding fun? Let's dive into the exciting adventure of paper crafting by creating your very own paper box complete with a removable lid! With just two sheets of square paper and a sprinkle of creativity, you'll be crafting like a pro in no time.
Materials You'll Need:
- Two square sheets of paper (one for the bottom of the box and one for the lid)
- Scissors (optional, but handy)
- Ruler (optional, for precision)
Instructions:
1. Let's Get Crafty:
- Gather your square sheets of paper. Be sure you measure your paper to be exactly proportional on each side. For example, 6” by 6” or 8” by 8”. If your paper isn't square, no worries—grab those scissors and trim it down to size. For the lid of the box, be sure to cut the paper one-quarter of an inch larger than the bottom. For example, if your box bottom is 8” x 8”, your box lid should be 8 ¼” by 8 ¼ “
2. Fold and Flip:
- Lay your larger square paper down, colored side facing down. It's time to get folding!
- Fold the paper diagonally to make a triangle, then unfold. Fold the other way too, making another triangle. Unfold again.
- Now, fold each corner towards the center where the creases meet, creating cute little triangles.
- Fold each side towards the center line, matching the edges with the creases from your previous folds. Flip it over and repeat on the other side. Ta-da! You've got the bottom of your box.
3. Let's Lid It Up:
- Now, take your slightly smaller square paper and prepare to make the lid.
- Repeat the folding instructions from step 2 to create a lid. Remember, it should be just a bit larger (about ¼ inch) than the bottom of your box.
4. Time to Assemble:
- With the lid aside for now, focus on your box-to-be.
- Give those folds a gentle push outward to transform your flat paper into a nifty three-dimensional box shape.
- Press down firmly on those folds to make sure your box holds its shape securely.
5. Top It Off:
- Now, grab the lid and gently place it over your box. A perfect fit is what we're aiming for!
- Adjust the lid if needed to ensure it sits snugly on top of the box, ready to keep all your treasures safe and sound.
6. Sprinkle Some Fun:
- Your paper box with a lid is almost ready to rock, but let's add some personal flair!
- Get creative and decorate your box with stickers, doodles, or even some fancy ribbon. Make it uniquely yours!
7. Admire Your Craftiness:
- Step back and admire your handiwork. You've just created a fabulous paper box with a lid from scratch! Use it to store trinkets, give as a gift, or simply add a touch of handmade charm to your space. Make several of these simple boxes to organize craft or homeschool supplies. Keep on crafting and let your imagination soar!
Check out more step-by-step crafting fun HERE!

Categories: : art, children, Creativity, Homeschoool